Create Account
Sign up as a client and open your dashboard.
You do not need coding knowledge. Choose a plan, activate payment, add your business data, test the chatbot, and publish it on your website.
A simple journey: activate your plan, create chatbot, add data, connect domain, publish, and improve with reports.
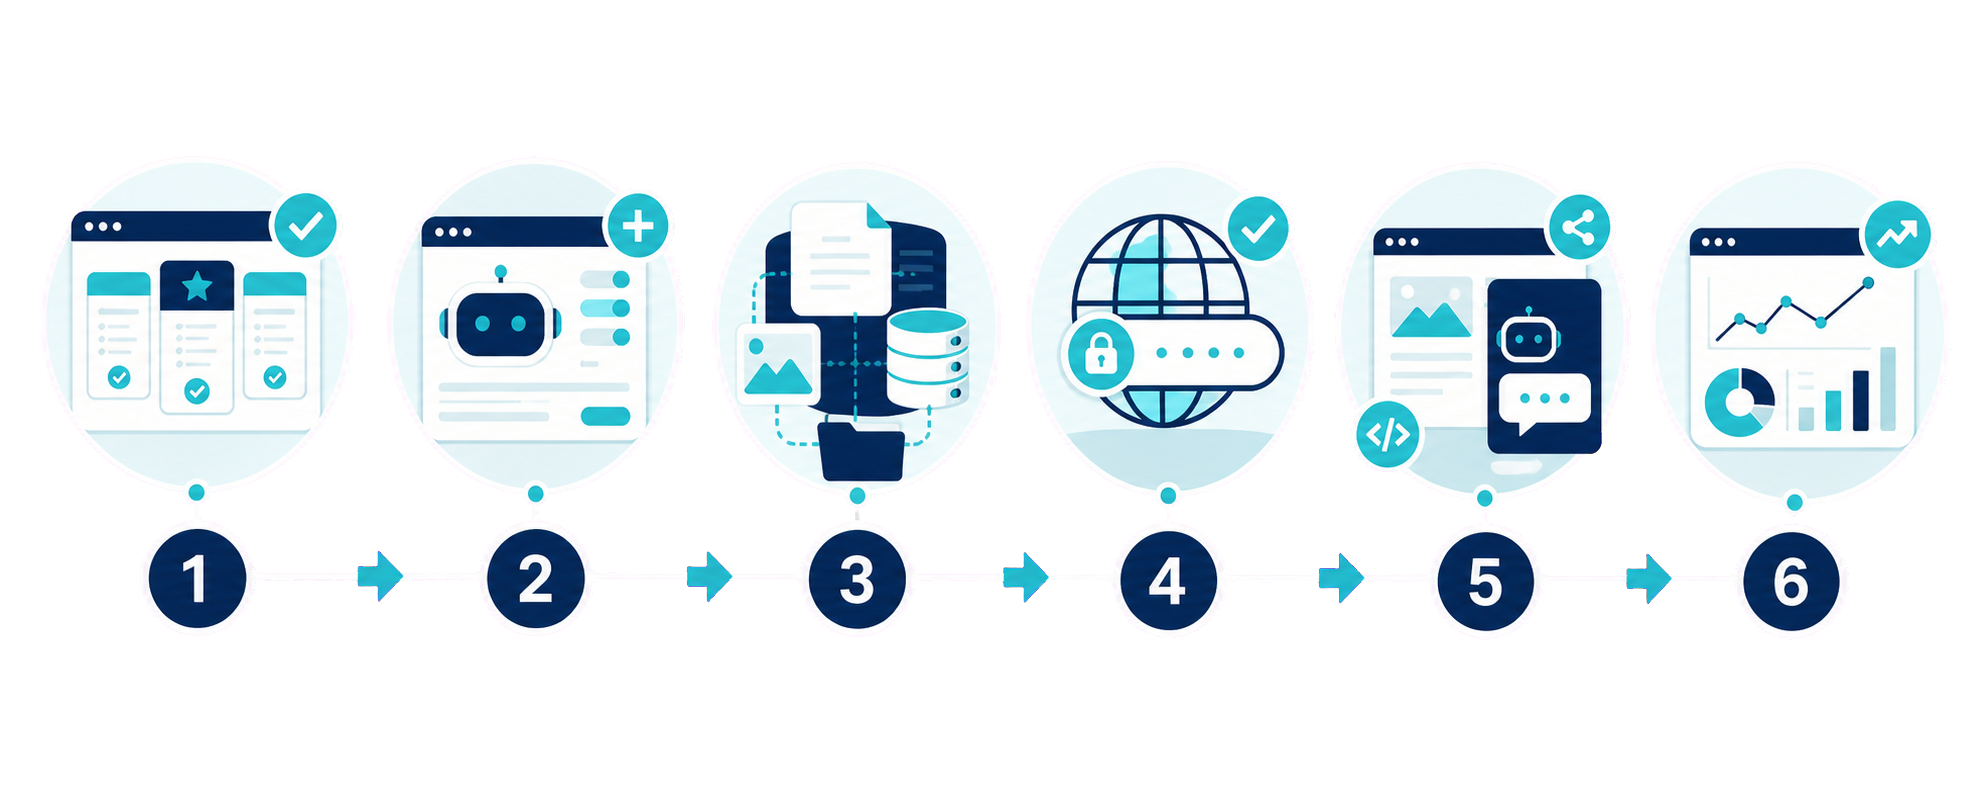
Sign up as a client and open your dashboard.
Select a plan, pay using available method, and send payment request for approval.
Add chatbot name, welcome message, tone, assistant name, and branding.
Add FAQs, files, website pages, products, services, contact details, and working hours.
Add your website domain so the widget can safely work on your website.
Paste the website code or share the full page chatbot link.
Ask customer-style questions and check if answers are correct.
Review conversations, leads, tickets, callbacks, fallback questions, and usage.
A website visitor asks a product, service, pricing, support, or contact question.
aZentiKo checks saved business data, FAQs, files, website pages, and dataset.
AI writes the answer from matched knowledge and avoids guessing missing facts.
Unanswered questions are reviewed and new knowledge is added.
When the chatbot cannot answer, you can add more knowledge and make it better.
Start Setup